

Are Pre-Assembled Windows Easier to Fit? A Complete Guide for Homeowners
When planning a renovation, one question inevitably comes up: are pre-assembled windows easier to fit? If you have searched for a window installation guide, you have seen debates about whether to buy pre-assembled units or assemble everything on-site. The short answer is yes—pre-assembled windows are significantly easier for most homeowners.
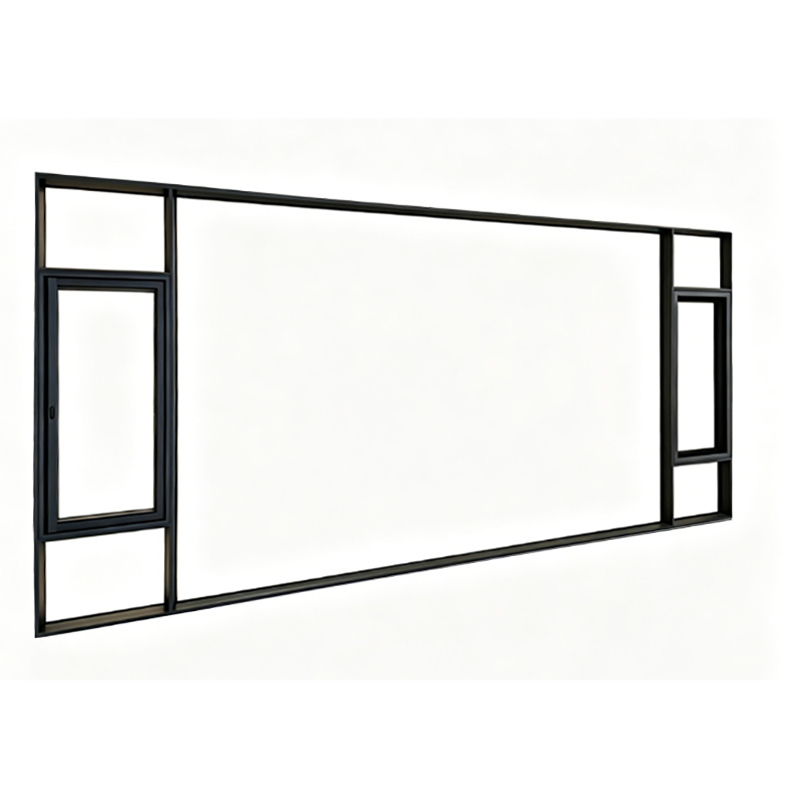
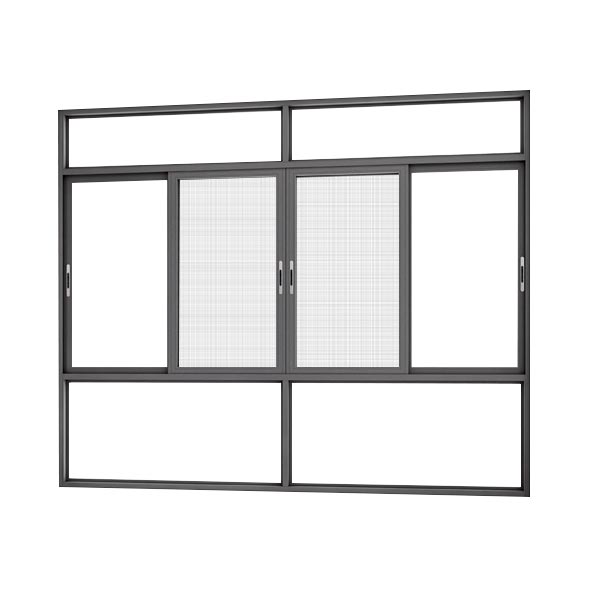
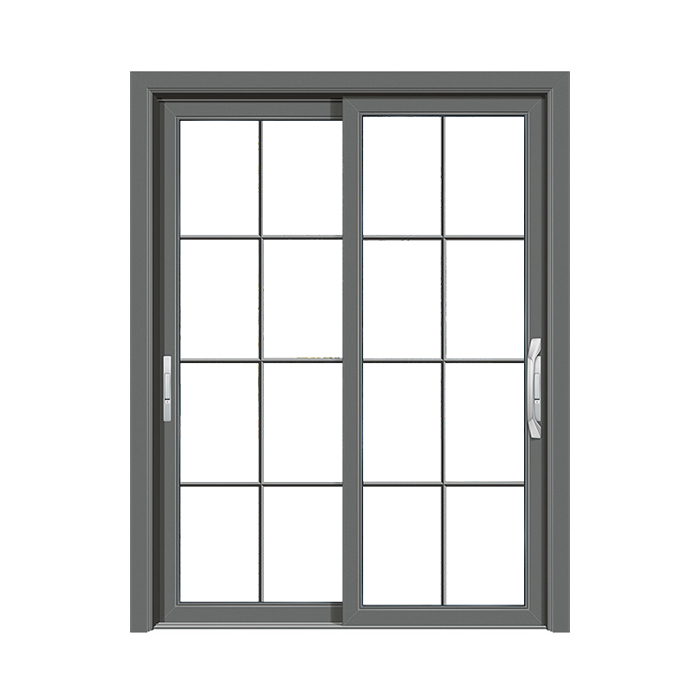
For a window replacement project, the decision balances cost, convenience, and quality. Modern manufacturing delivers pre-assembled aluminum windows that arrive ready for quick window installation, with most complex work already completed in the factory. You spend less time on components and more time enjoying your upgraded space.
This guide breaks down what makes pre-assembled windows easier to fit, what to expect during installation, and why this approach may be your best choice.
What Exactly Are Pre-Assembled Windows?
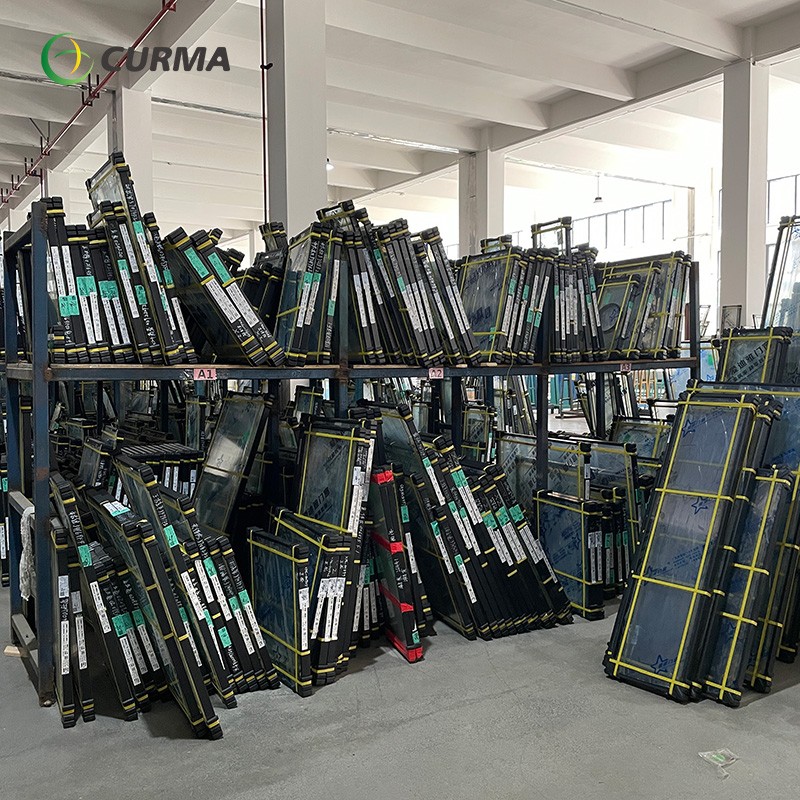
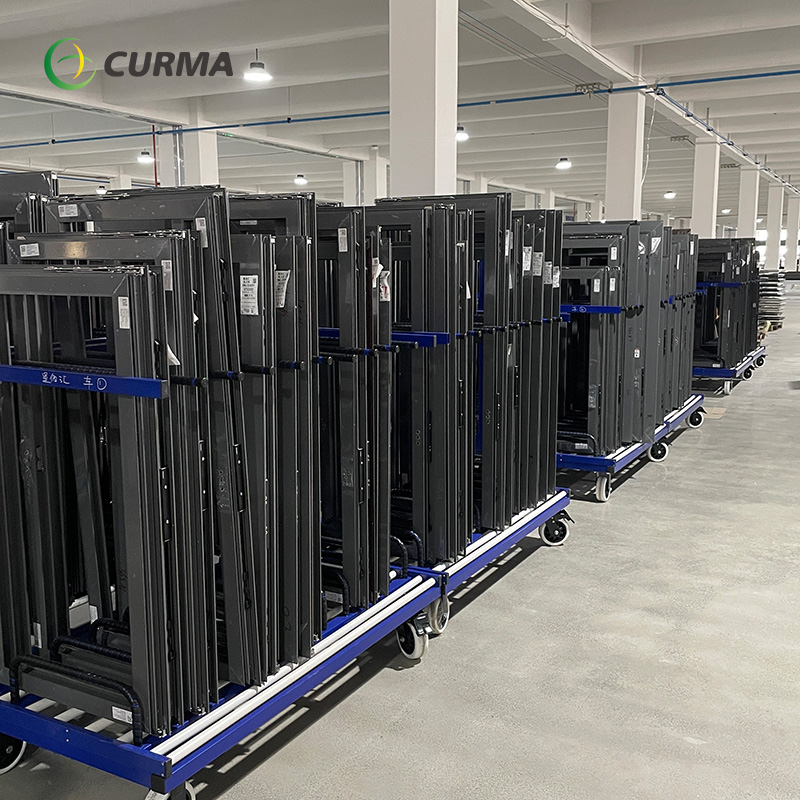
Pre-assembled windows arrive from the factory with the frame, glass, hardware, and weatherstripping already assembled. Hinges and handles are pre-installed and pre-adjusted, so you do not need to align components yourself.
When you order pre-assembled aluminum windows from a reputable manufacturer, the factory handles corner crimping, sealant application, and hardware mounting before shipping. This contrasts with traditional methods where components arrive separately and must be assembled on-site—often causing mistakes, misalignments, and delays.
The primary advantage is quality control. In a factory, workers use jigs and calibrated tools to ensure every joint is square, every seal is tight, and every moving part operates smoothly. Replicating this precision on-site is challenging, even for experienced tradespeople. So when you ask whether pre-assembled windows are easier to fit, the answer is that half the work—and most of the skill-intensive work—is already done for you.
Why Choose Pre-Assembled Aluminum Windows for Your Next Project?
When choosing materials, aluminum windows offer strength, durability, and a modern look. Combined with a pre-assembled design, they are user-friendly and long-lasting.
Durability and Longevity – Aluminum resists corrosion, warping, and cracking, ideal for tropical climates. With pre-assembled aluminum windows, the factory applies protective coatings, so no exposed edges risk rust. Your window replacement investment stays protected from day one.
Thermal Performance – Modern aluminum windows feature thermal break technology to reduce heat transfer. Factory assembly ensures thermal breaks and insulation strips are fitted correctly—something not always guaranteed on-site. This is critical for hot climates, contributing to comfort and energy savings.
Aesthetic Versatility – Aluminum profiles come in virtually any color, with factory-applied coatings that ensure a consistent finish. This eliminates uneven application during DIY window installation, delivering a polished, professional look.
The Factory's Role – What Gets Done Before Your Windows Arrive
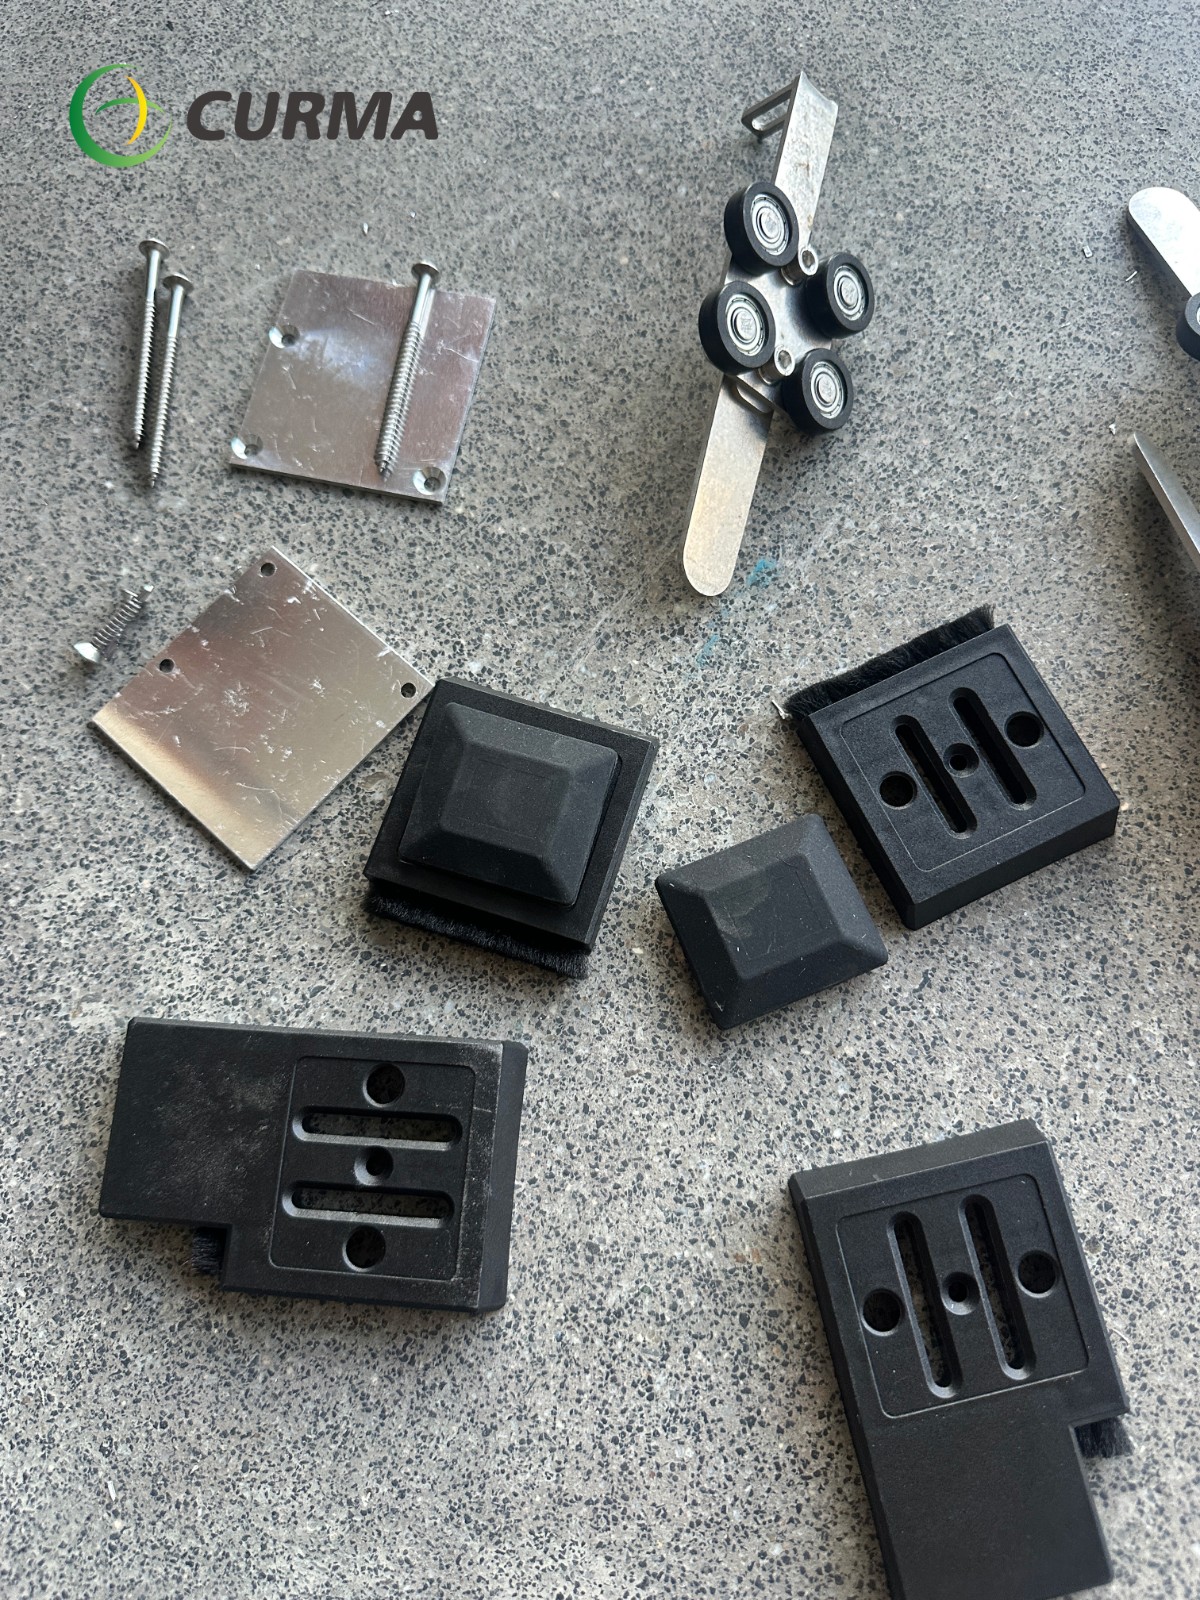
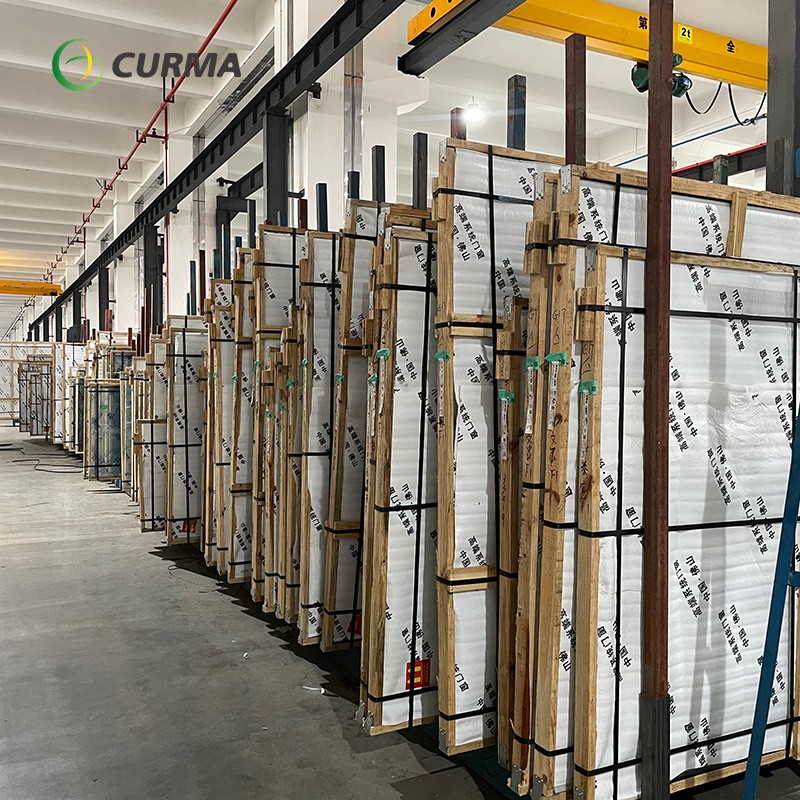
One of the biggest misconceptions about pre-assembled windows is that they are simply "shipped in one piece." In reality, a tremendous amount of work happens at the factory before the product ever reaches your doorstep. Understanding this process will help you appreciate why these units are so much easier to fit.
Frame Assembly and Corner Crimping
The frame is the backbone of any window, and its structural integrity depends entirely on how well the corners are joined. In a factory setting, CNC machines cut aluminum profiles to exact specifications, and then hydraulic crimpers apply consistent pressure to create rigid, square corners. This precision is nearly impossible to achieve with hand tools on a construction site, which is why pre-assembled aluminum windows offer superior structural stability from the start.
Hardware Pre-Installation and Adjustment
Hinges, handles, locking mechanisms, and friction stays are all mounted and adjusted at the factory. The manufacturer tests each unit to ensure smooth operation, proper closing pressure, and correct alignment. This step alone saves hours of frustration during your window installation, as you will not need to figure out which bracket goes where or how to level a sagging sash. Everything arrives ready to use, with tolerances already set within manufacturer specifications.
Weathersealing and Gasket Fitting
Weatherstripping and EPDM gaskets are installed around the frame and glass to prevent air and water infiltration. Factory installation ensures these seals sit flush and compression is uniform, which is a detail that often gets overlooked in rushed on-site assemblies. When following a window installation guide, you will find that pre-sealed units require much less remedial sealing work, reducing both time and the risk of future leaks.
Glass Packing and Spacer Placement
For double or triple-glazed units, the glass pack arrives already fitted with desiccant-filled spacers and secondary seals. The factory ensures that the glass is clean, the spacer bars are correctly positioned, and the overall unit is pressure-equalized. This makes the actual fitting process simpler because you are not handling loose panes of glass or trying to insert fragile components into tight frames on a windy day.
Step-by-Step – How to Fit Pre-Assembled Windows
Now that we have established what pre-assembled windows are and what the factory has already done for you, let us walk through the actual window installation process. The steps below follow a typical window installation guide tailored specifically for pre-assembled aluminum windows, highlighting where the factory's work makes your job significantly easier.
Step 1 – Site Preparation and Opening Inspection
Before any unit goes into the opening, you need to measure the rough opening and ensure it is plumb, level, and square. This is the most critical step in any window replacement project. With pre-assembled units, you have a fixed frame size that cannot be adjusted on-site, so accurate measurements are non-negotiable. However, because the factory has already built the window to your specified dimensions, you do not need to worry about cutting or modifying the frame itself—only verifying that the opening matches what you ordered.
Step 2 – Applying Flashing and Sealant
Most window installation guide resources emphasize the importance of flashing tape and sealant to create a watertight barrier around the opening. With pre-assembled windows, the outer frame already has drainage channels and weep holes designed to manage water infiltration, so your job is simply to apply a continuous bead of sealant around the perimeter and install flashing tape over the sill and jambs. The factory's pre-drilled screw holes also guide you on where to place fasteners for optimal anchoring.
Step 3 – Lifting and Placing the Window Unit
Because everything is already assembled in one sturdy unit, lifting and placing the window is straightforward. You do not need to assemble the frame first, then insert glass panels separately, then install hardware—all of that is already done. You simply tilt the unit into the opening, center it using shims, and check for level and square. This single-step placement is a major reason why pre-assembled aluminum windows are easier to fit compared to their knock-down counterparts.
Step 4 – Anchoring and Leveling
Once the unit is in position, you secure it using the factory-provided screws and anchors. Because the frame is pre-drilled, you can be confident that you are placing fasteners in structurally sound locations rather than guessing. After anchoring, you make minor adjustments by adding or removing shims until the frame is perfectly plumb and square. Since the sash is already attached, you can test the opening and closing action immediately, confirming that the factory pre-adjustments translate into smooth operation.
Step 5 – Insulating and Sealing Gaps
With the window anchored, the next step is to fill the gap between the frame and the rough opening with low-expansion foam insulation. Pre-assembled units typically include foam-backed spacers or pre-applied sealing strips that reduce the amount of foam needed. After the foam cures, you trim any excess and apply a final bead of exterior sealant for additional weather protection. This final step is much less messy than with non-assembled units because the factory has already sealed the glass-to-frame interface, so you are only sealing the frame-to-opening junction.
Step 6 – Final Hardware Check and Trim Installation
The final step involves testing the hardware, adjusting tension on the hinges if needed, and attaching interior trim or covers. Because the factory has already pre-installed and tested the hardware, this step takes only minutes. If you are following any window installation guide, you will notice that most of the time-consuming work—like aligning sashes and fitting locking mechanisms—has been replaced with simple verification tasks.
Common Problems Solved by Pre-Assembled Windows
When homeowners hesitate about tackling a window replacement themselves, they often cite concerns about complexity, potential mistakes, and the risk of damage. Pre-assembled aluminum windows address each of these fears directly.
Eliminating Alignment Errors
The most common error in DIY window installation is misaligning the frame, which causes sashes to bind, hardware to fail, and seals to leak. With pre-assembled units, the sash is already aligned to the frame at the factory, so your only alignment task is leveling the entire unit in the opening—a much simpler operation.
Reducing the Risk of Glass Breakage
Handling loose glass panels is dangerous and nerve-wracking. Since pre-assembled windows arrive with glass already installed, you avoid the risk of dropping or chipping individual panes. The factory's protective packaging also keeps the glass secure during transit, further minimizing damage potential.
Shortening Installation Time
Time is a precious resource, and nothing kills DIY motivation like a project that drags on for days. Pre-assembled aluminum windows typically cut installation time by 40% to 50% because you eliminate the assembly phase entirely. Most homeowners can complete a single unit in under an hour, compared to two or three hours for a knock-down alternative.
Maintaining Manufacturer Warranties
Many window replacement products come with warranties that are contingent on proper installation. Because pre-assembled units follow factory-set specifications, you are less likely to void your warranty through assembly errors. The manufacturer's confidence in their own pre-assembly work often translates into better coverage and peace of mind.
FOQ
Are pre-assembled windows heavier than unassembled ones?
Not significantly. While they do weigh slightly more due to the installed glass and hardware, the weight difference is manageable for two people. The convenience of not having to assemble individual parts far outweighs the minor weight increase.
Can one person install a pre-assembled window?
It is recommended to have two people for lifting and positioning, especially for larger units. However, once the window is in place, one person can easily handle the anchoring and sealing steps, making the overall process simple enough for most DIYers.
Do pre-assembled windows cost more than knock-down windows?
Typically, pre-assembled units come with a small premium to cover factory labor and materials. However, when you factor in the time you save, the reduced risk of mistakes, and the eliminated need for specialized tools, the overall value proposition is compelling. Many homeowners find that the extra upfront cost is offset by the smooth window installation experience.
Can I still customize pre-assembled windows?
Absolutely. Reputable manufacturers offer extensive customization options, including frame colors, glass types, hardware finishes, and even decorative grilles. The factory assembles your custom specifications into a finished unit, so you get exactly what you envisioned without compromising on ease of installation.
